The problem. The mortar mixes creamy, the ribs hold their shape, and the first tiles go down without a fight. Then, weeks or months later, the floor sounds hollow under a knuckle and a tile lifts away with a back that is almost completely clean.
Why it keeps happening. Bond strength on dense porcelain is not decided by how the paste looks in the bucket. It is decided at the interface, in the minutes while the adhesive is still able to wet the tile, and in the days while the cement is still hydrating. A normal-looking mortar can lose on any one of those steps and never show it in the bucket.
What this article does instead. It walks the failure in the order I actually investigate it: the interface, the open time, the substrate, the curing period, and only then the formula. Along the way it separates what a cellulose ether such as HPMC genuinely does from what buyers often assume it does.
1. What Is Actually Failing at the Mortar–Porcelain Interface?
Problem. The trowel marks look correct, the paste feels smooth, and the first tiles stay put. Weeks later the floor sounds hollow, and a lifted tile shows bare porcelain where adhesive should have been.
Agitation / Answer: The mortar never wetted the tile. A dense porcelain back absorbs almost no water and offers little mechanical key, so bond depends on full contact plus a polymer film. Smooth ribs only prove the paste was soft, not that the layer closed.
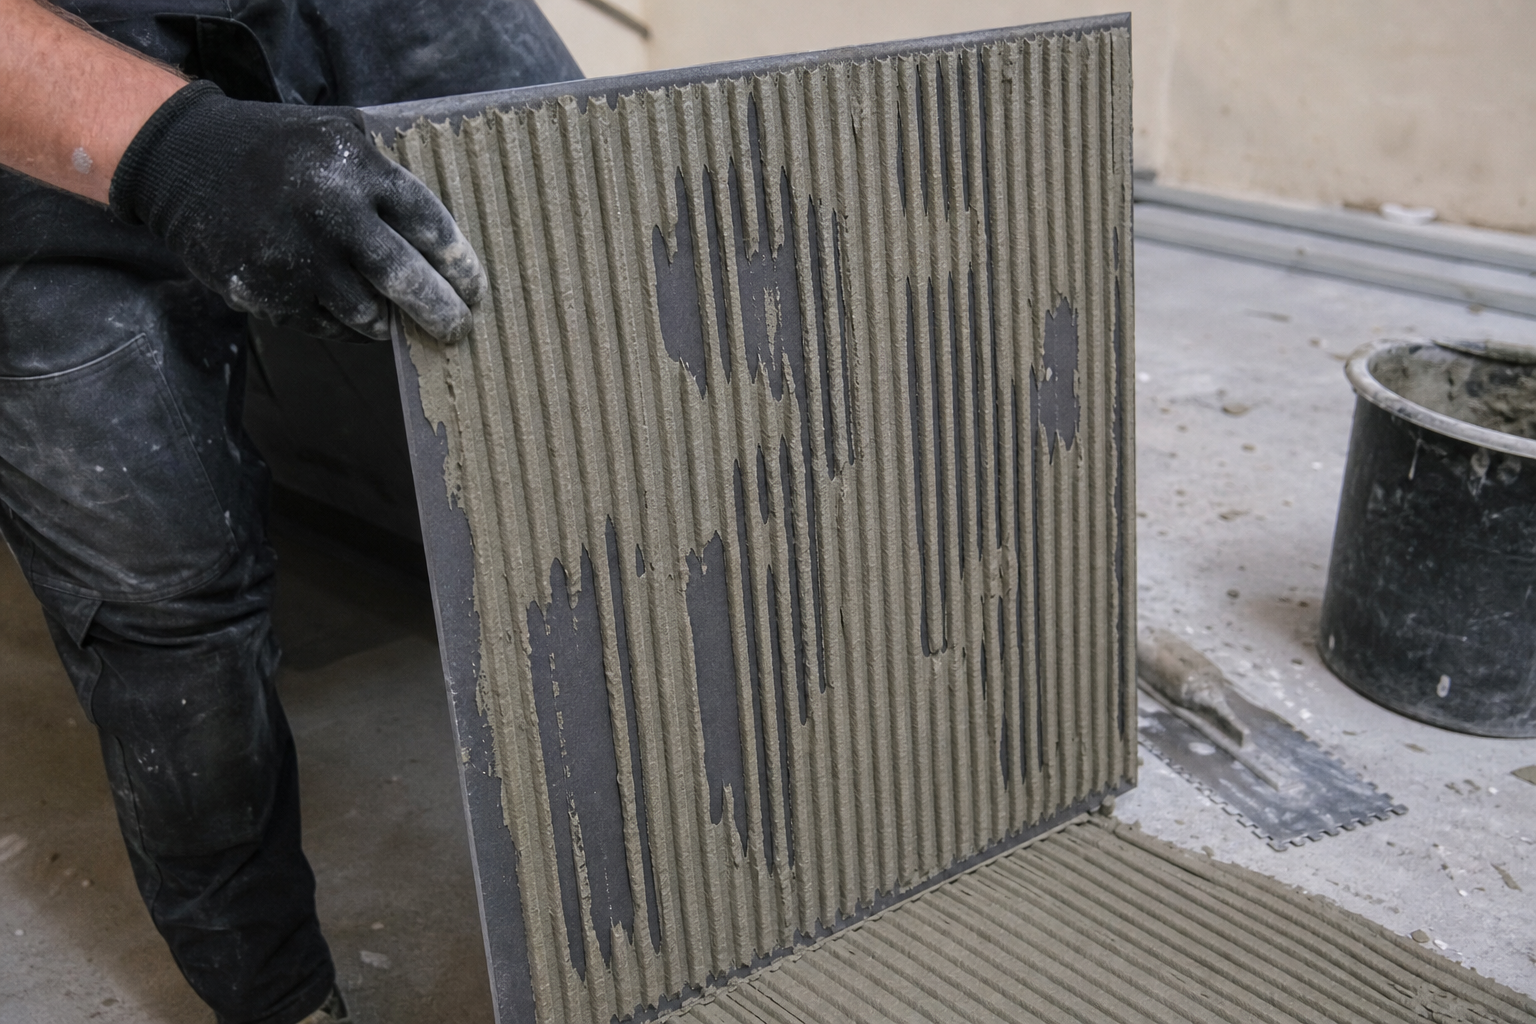
Solution. Coverage is the first thing I check, because it is the cheapest thing to check and the most common cause. A notched trowel does not spread adhesive; it leaves ribs with air between them. Those ribs become a continuous layer only when the tile is pressed down and the ribs collapse sideways into each other. On a porous tile some of the paste grips the back immediately and the ribs merge easily; on a dense porcelain back the paste slides rather than anchors, so the ribs can stay as ribs. The tile then sits on the tops of the ridges, and the voids underneath become stress concentrators the moment the floor is loaded or the building moves. Two habits fix most of this. First, comb in one direction and press the tile across the ribs rather than along them, so the trapped air has a route out. Second, back-butter: spread a thin flat layer on the tile back and comb the substrate, which gives the paste something to bond to instead of air. I also ask installers to lift a tile shortly after placing it. If the back shows adhesive standing in proud ridges with bare porcelain between them, the layer was never closed, and no change in the powder will fix that. Transfer, not appearance, is the measurement that matters. When the transfer pattern is poor, the conversation belongs to trowel size, trowel angle, bedding pressure and tile flatness, not to the cellulose ether. The practical side of this is covered in our HPMC guide for tile adhesive, and installers fighting the same problem on walls will recognise the coverage logic in this note on slipping on vertical walls.
2. Why Does Open Time Behave Differently on a Dense Tile Surface?
Problem. The bag states an open time, the crew works well inside it, and tiles still come loose in patches that follow the sun or the afternoon wind rather than the mixing.
Agitation / Answer: Open time is a surface condition, not a clock. Once the combed layer is exposed, water leaves it and a skin forms; the paste below can stay soft while the top stops being sticky. A dense tile pulls no water back into the joint, so nothing reopens that skin.
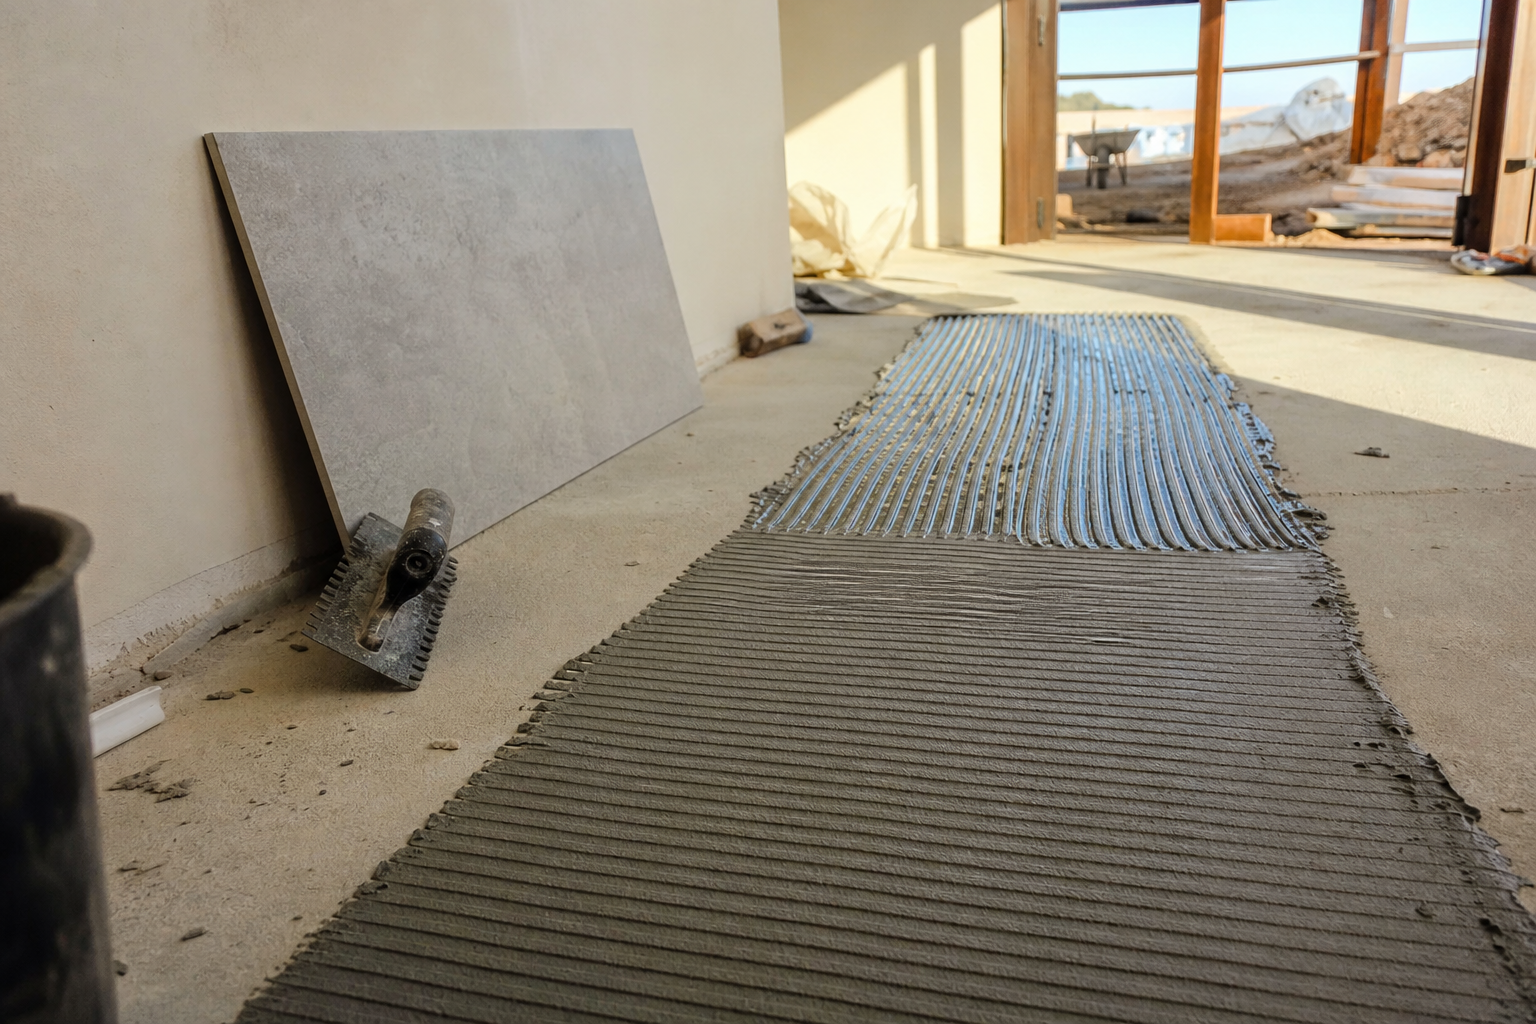
Solution. Open time is usually read as a number on the bag [1][2], but on site it behaves as a surface condition. Once a combed layer is exposed, water leaves it to the air and a skin forms; the paste underneath can still be soft while the top has stopped being sticky. A trowel drawn through that skin looks fine. A tile pressed onto it touches the skin, not the paste. Dense porcelain makes this worse in two ways. It pulls almost no water out of the adhesive, so there is no suction to help the paste flow into the fine texture of the tile back, and it is often supplied in large formats, which means more time between combing and bedding and more handling for every square metre. I treat open time as something to verify rather than assume. On site, touch the ribs with a finger or the back of the trowel; if the surface has lost its tack, or a film lifts under the thumb, the area should be re-combed, not wetted. Adding water to a skinned mix is one of the most reliable ways to turn a normal-looking mortar into a failed floor. Water retention and open time are related but separate properties, and the method used to report them changes the figure you see, which is why I ask suppliers which method they used before comparing two products at all; the differences are laid out in this water retention test method comparison. For the installer the rule is simple: comb only what can be covered and beaten in while the surface is still live, and work out of direct sun and wind on a hot day.
3. How Much of the Failure Comes From the Substrate Rather Than the Adhesive?
Problem. One bag passes on a north wall and fails in a sunlit corridor. The batch number is the same, so the adhesive takes the blame and the substrate is never examined.
Agitation / Answer: A great deal of it. Suction, flatness and surface soundness decide how much water and contact the adhesive actually gets. A thirsty, dusty or uneven substrate can starve a good mortar of water or squeeze it out of the only places it needed to stay.
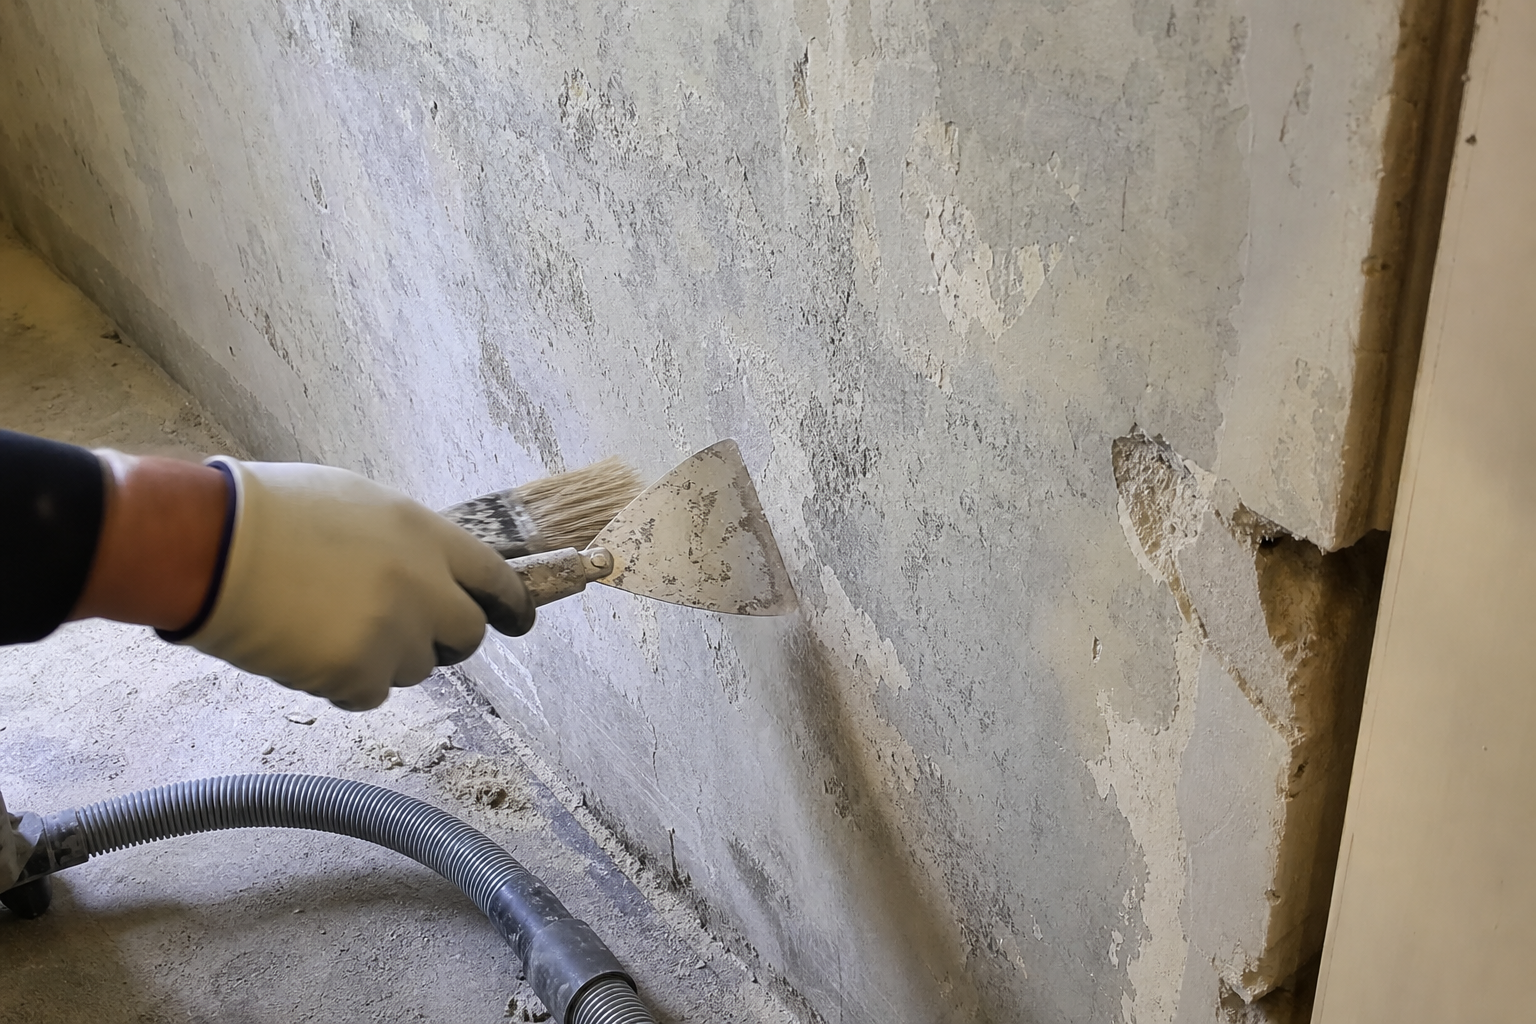
Solution. The substrate is where I look next, because the same bag of adhesive can pass on one wall and fail on another. Three substrate properties matter more than most specifications admit: how much water it pulls, how flat it is, and how clean and sound its surface is. A dry, absorptive cement render can pull water out of a thin adhesive layer fast enough that the cement never gets what it needs to hydrate properly at the interface, while a dense, well-sealed substrate pulls nothing and leaves the paste wet for longer, which changes when the floor can be walked on. Neither is a defect in the adhesive; both are reasons the same product needs different handling on different backgrounds. Dust is the other silent killer. A fine layer of sanding dust, release agent or paint overspray means the adhesive bonds to the dust, and the dust bonds to nothing. I ask for the surface to be abraded and vacuumed, then checked by hand and by eye before any primer goes on [4]. Flatness matters for a different reason: a dense tile is stiff, so it cannot bend to follow a hollow in the wall, and all the adhesive is squeezed out of the high spots while the low spots stay empty. Primer decisions should follow the substrate rather than habit. Sealing a thirsty surface reduces suction, but priming a dusty or contaminated one without cleaning it first simply glues the dust down. Where the background is broken, patching is a separate job with its own requirements, closer to the thinking in this note on cellulose ether in repair mortar.
4. What Goes Wrong During Curing After the Tile Is Pressed?
Problem. The floor looks finished the moment the last tile is beaten in, the site moves on to other trades, and nobody watches the week in which the adhesive is supposed to become strong.
Agitation / Answer: Cementitious adhesive does not dry to strength; it hydrates, and hydration needs water to stay available. A dense tile seals the adhesive from above, so the only remaining escape routes are the joints and the perimeter, exactly where early drying and early hollow spots appear.
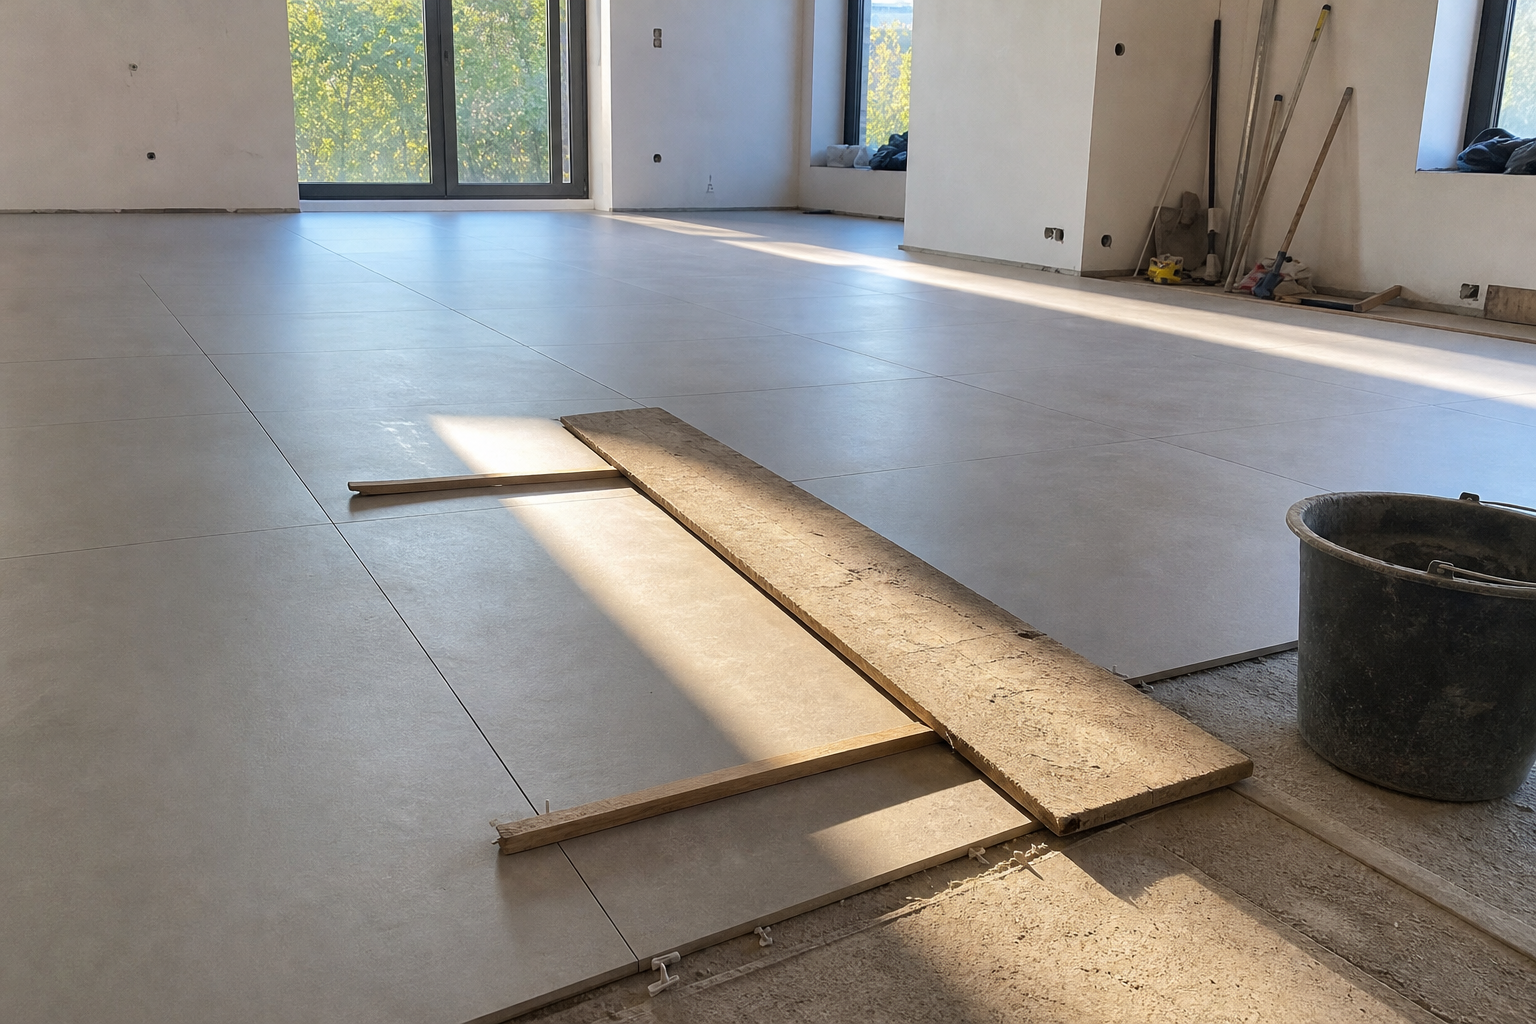
Solution. Curing is the part nobody photographs. Once the tile is down, the floor looks finished and the site moves on, but what happens next decides whether the bond achieved at placement survives. A cementitious adhesive does not dry to strength; it hydrates, and hydration needs water to remain available while the matrix hardens. A dense porcelain tile covers the adhesive almost completely, so moisture cannot escape upward. The joints are the only real path, and if the room is hot, draughty and dry, the exposed edges and the perimeter can lose water far faster than the covered field. That is where the first hollow spots usually appear. I look for three things in the days after installation. First, whether the floor was protected from direct sun, wind and forced drying, because a fan pointed at new tiling is not helping anyone. Second, whether anyone walked, loaded or washed the floor before the adhesive had matured; early movement breaks a bond that was still forming, and it does not re-form. Third, whether the substrate was properly prepared, because a background that keeps stealing water changes the whole curing story. Polymer modification matters here as well, since the film that forms as the mortar loses water contributes to adhesion and to flexibility, which is why the polymer part of the formula should be matched to the tile and the service conditions rather than chosen on price alone. The same film is the subject of this note on HPMC and RDP synergy in high-performance mortars. Good curing is boring: shade, no draught, no traffic, no washing, and time.
5. Where Does HPMC Fit in the Formula, and Where Does It Not?
Problem. When bond fails, the cellulose ether is the easiest lever to move. A little more is added, the paste feels better in the bucket, and the next floor fails in the same place.
Agitation / Answer: HPMC manages water, rheology and open time. It holds water in the fresh paste, keeps the ribs standing and delays skinning. It creates no adhesion of its own, and raising the dose cannot compensate for poor coverage, a dead open time or a dirty substrate.
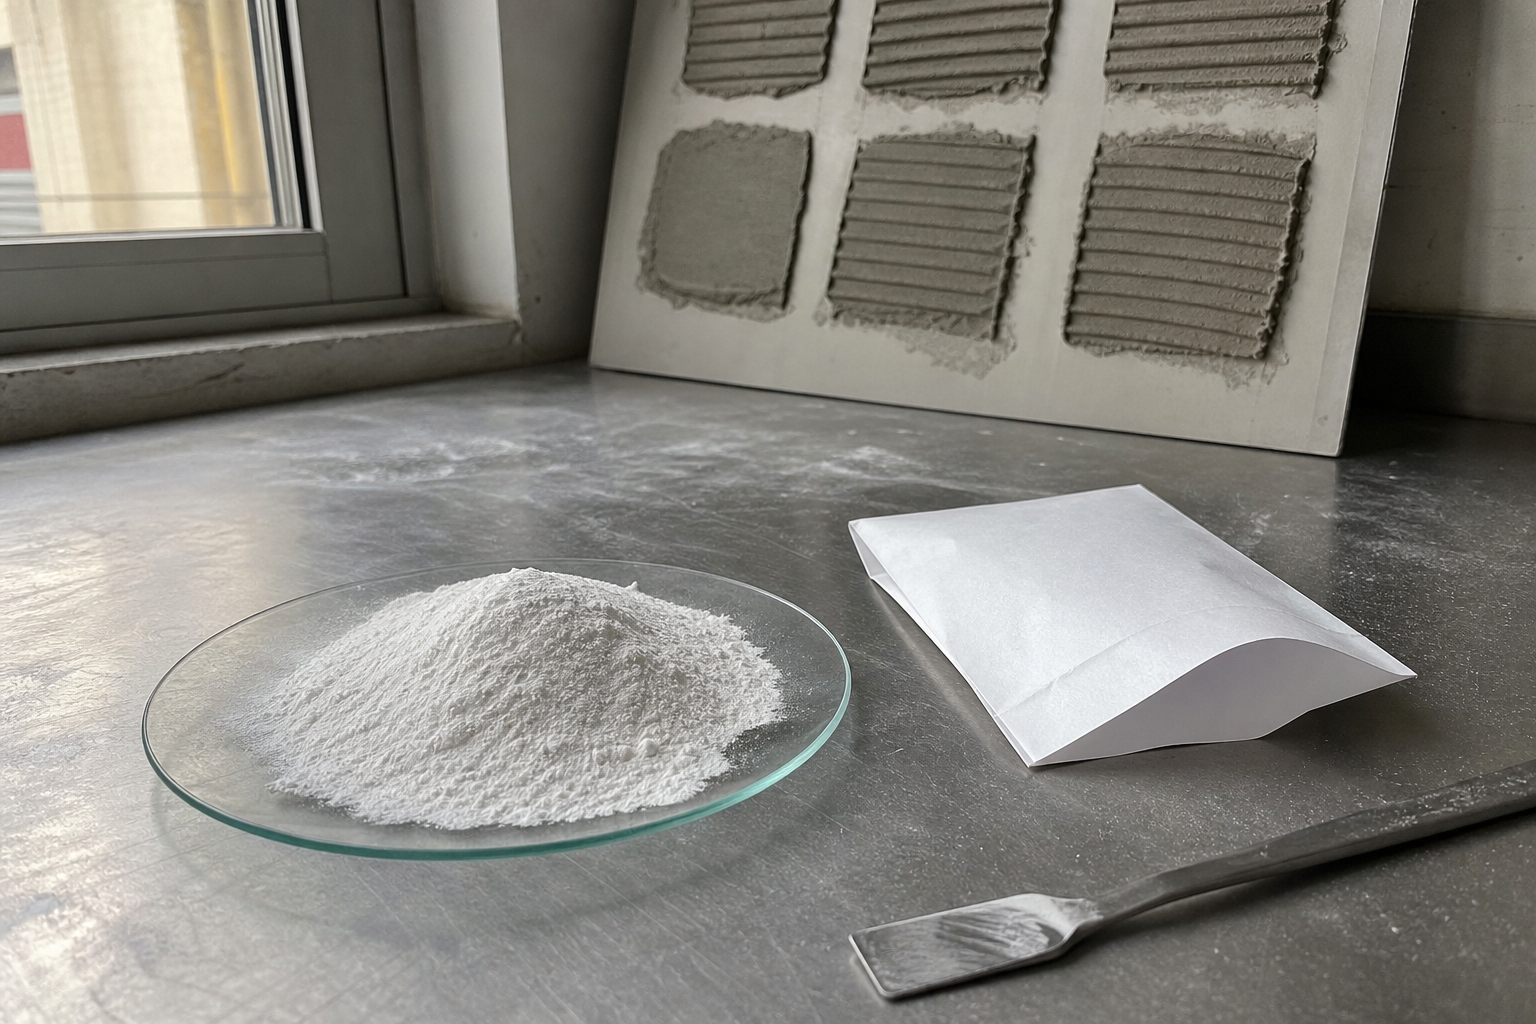
Solution. Formulation is the last place I look, but it is where most of the arguing happens. A tile adhesive is a system: cement and other hydraulic binders, graded fillers, redispersible polymer powder, cellulose ether [2]. Each component carries a different job. The binder and the filler grading set the strength and the density of the hardened matrix. The redispersible polymer powder forms a film that can adhere to a surface with no suction, which is precisely the case with dense porcelain. HPMC holds water in the fresh paste [3], controls how the ribs stand up and how the paste behaves under the trowel, and buys time before the surface skins over. What HPMC does not do is create adhesion. It has no bonding function of its own; it keeps water where the cement and the polymer need it and gives the installer a workable window. Increase it hoping for strength and the usual result is a stickier, airier paste that is harder to bed, and strength can fall rather than rise. When a customer sends a formula together with a complaint, I ask about the coverage pattern, the open-time practice, the substrate condition and the curing routine before touching the cellulose ether level. If those are sound, the review moves to polymer dose, binder content, filler grading and water ratio, and to whether the incoming materials still matched the samples the formula was built on, which is what a COA review and a receiving inspection are for. Grade choice matters too, and the trade-offs are set out in which grade of HPMC suits tile adhesive and in this overview of formulation optimisation. The order of investigation matters: reformulating to compensate for a bedding problem only hides it.
Frequently Asked Questions
Can I simply add more HPMC so the tile sticks better? No. More cellulose ether thickens the paste and holds water, but it does not add adhesion, and past a certain point it makes the mortar harder to bed and more air-entrained. If coverage or open time is the real problem, a higher dose will not recover the bond.
Does back-buttering really change anything on porcelain? Yes, and it is the cheapest intervention available. A flat layer on the tile back gives the paste a surface to grab instead of air, and it closes the voids that form when a stiff, dense tile is pressed onto combed ribs.
Why does the same adhesive hold in one room and fail in another? Because suction, flatness, cleanliness and curing conditions differ from room to room. A sunlit, draughty corridor and a shaded interior wall are not the same job, even with the same tile and the same bag.
How can I tell whether the tile was properly bedded before it is too late? Lift a tile soon after placement and look at the back. Adhesive transferred across most of the surface means the layer closed. Proud ribs with bare porcelain between them mean it did not, and the bedding method needs to change.
Is a class C2 adhesive automatically safe for large porcelain? A classification describes performance under defined laboratory conditions, not on a dusty wall in the sun. Read the declared class as a starting point, then treat coverage, open time and curing as the parts you actually control.
If you are working through this on a live project, send us the formula, the tile type and a photograph of a lifted tile, and we will tell you which part of the system we would examine first. Our tile adhesive HPMC guide is the fastest place to start.
Footnotes
- International Organization for Standardization. ISO 13007-1:2014 — Ceramic tiles — Grouts and adhesives — Part 1: Terms, definitions and specifications for adhesives. https://www.iso.org/standard/60880.html
- European Committee for Standardization. EN 12004-1:2017 — Adhesives for ceramic tiles — Part 1: Requirements, assessment and verification of constancy of performance, classification and marking. https://standards.iteh.ai/catalog/standards/cen/48998e72-43b4-4ab9-9385-a9399c2c4689/en-12004-1-2017
- Tile Council of North America. Dryset Mortar — Frequently Asked Questions. https://tcnatile.com/resource-center/faq/dryset-mortar/
- Tile Council of North America. ANSI Standards — ASC A108 / A118 installation and material specifications. https://tcnatile.com/resource-center/ansi-standards/