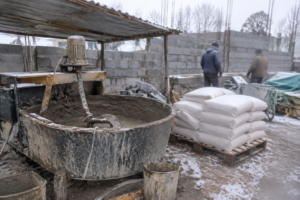
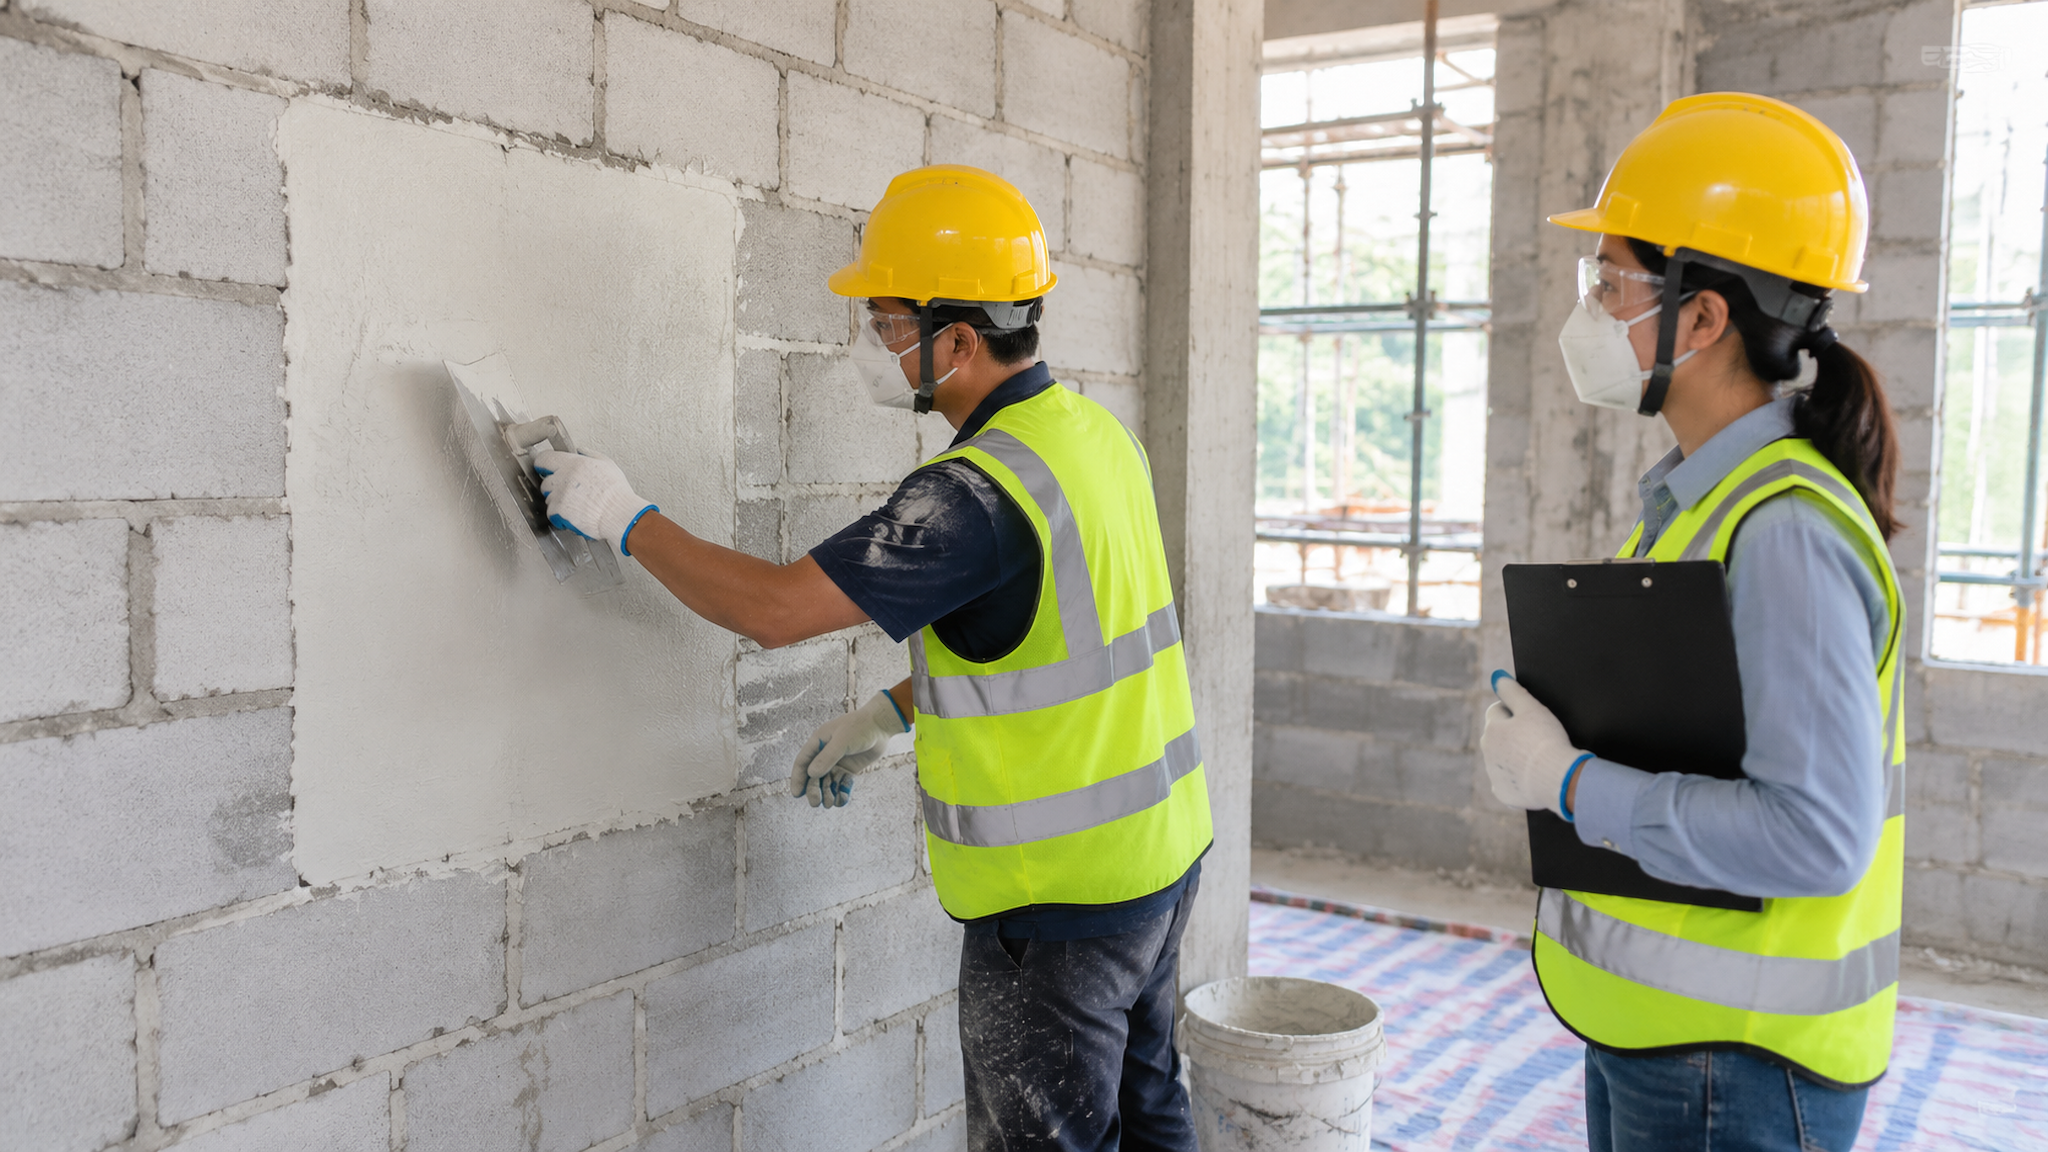
A correct mix and a failed wall can both be true at the same time, and that is usually what makes this call so difficult. In field troubleshooting, the pattern repeats: the same approved gypsum plaster, the same water, the same crew, and yet one elevation holds while another shells away in sheets within days of application. The bag is the first thing blamed because it is the first thing that can be replaced, and replacing it rarely changes the outcome.
That delay is expensive. Rework means removing plaster that looks sound, re-preparing a wall that was already signed off, and re-opening a finished room, while the real variable — the rate at which the block face takes water out of the fresh paste — stays exactly as it was. The next batch fails in the same place for the same reason, and confidence in the material erodes for a cause the material does not own.
The useful approach is to treat debonding as an interface question rather than a formula question. This article sets out how we read a failed wall, how suction changes the contact zone, what preparation actually has to achieve, what a mock-up must prove, and how to separate material, substrate, workmanship and environment before anyone changes a single component. Product context for the binder side sits on our HPMC for gypsum plaster page; the diagnosis below deliberately starts at the wall.
Why Can a Correct Mix Still Shell Off the Wall?
The mix passes every check the site has: the bag is in date, the water was measured, the consistency looked right on the board. Then the plaster detaches in flat, brittle sheets, and the investigation immediately turns to the formula.
Agitation / Answer: A correct mix only guarantees that the paste left the board in specification. It says nothing about what happened to that paste in the first minutes against the block, where water movement decides whether a bonded skin forms or a weak, dusty layer forms instead. Debonding is decided at the interface, not in the mixer.
Gypsum plaster sets by hydration, and the paste in contact with the substrate has to retain enough of its mix water, for long enough, to develop a continuous and well-bonded skin against the block face. When the wall draws that water away faster than the paste can hold it, the contact layer sets lean, porous and friable while the bulk of the plaster just behind it sets normally. The coat then looks correct under the trowel and sounds hollow under the knuckle, because it is a sheet resting on a weak interface rather than a coat integrated with the substrate.
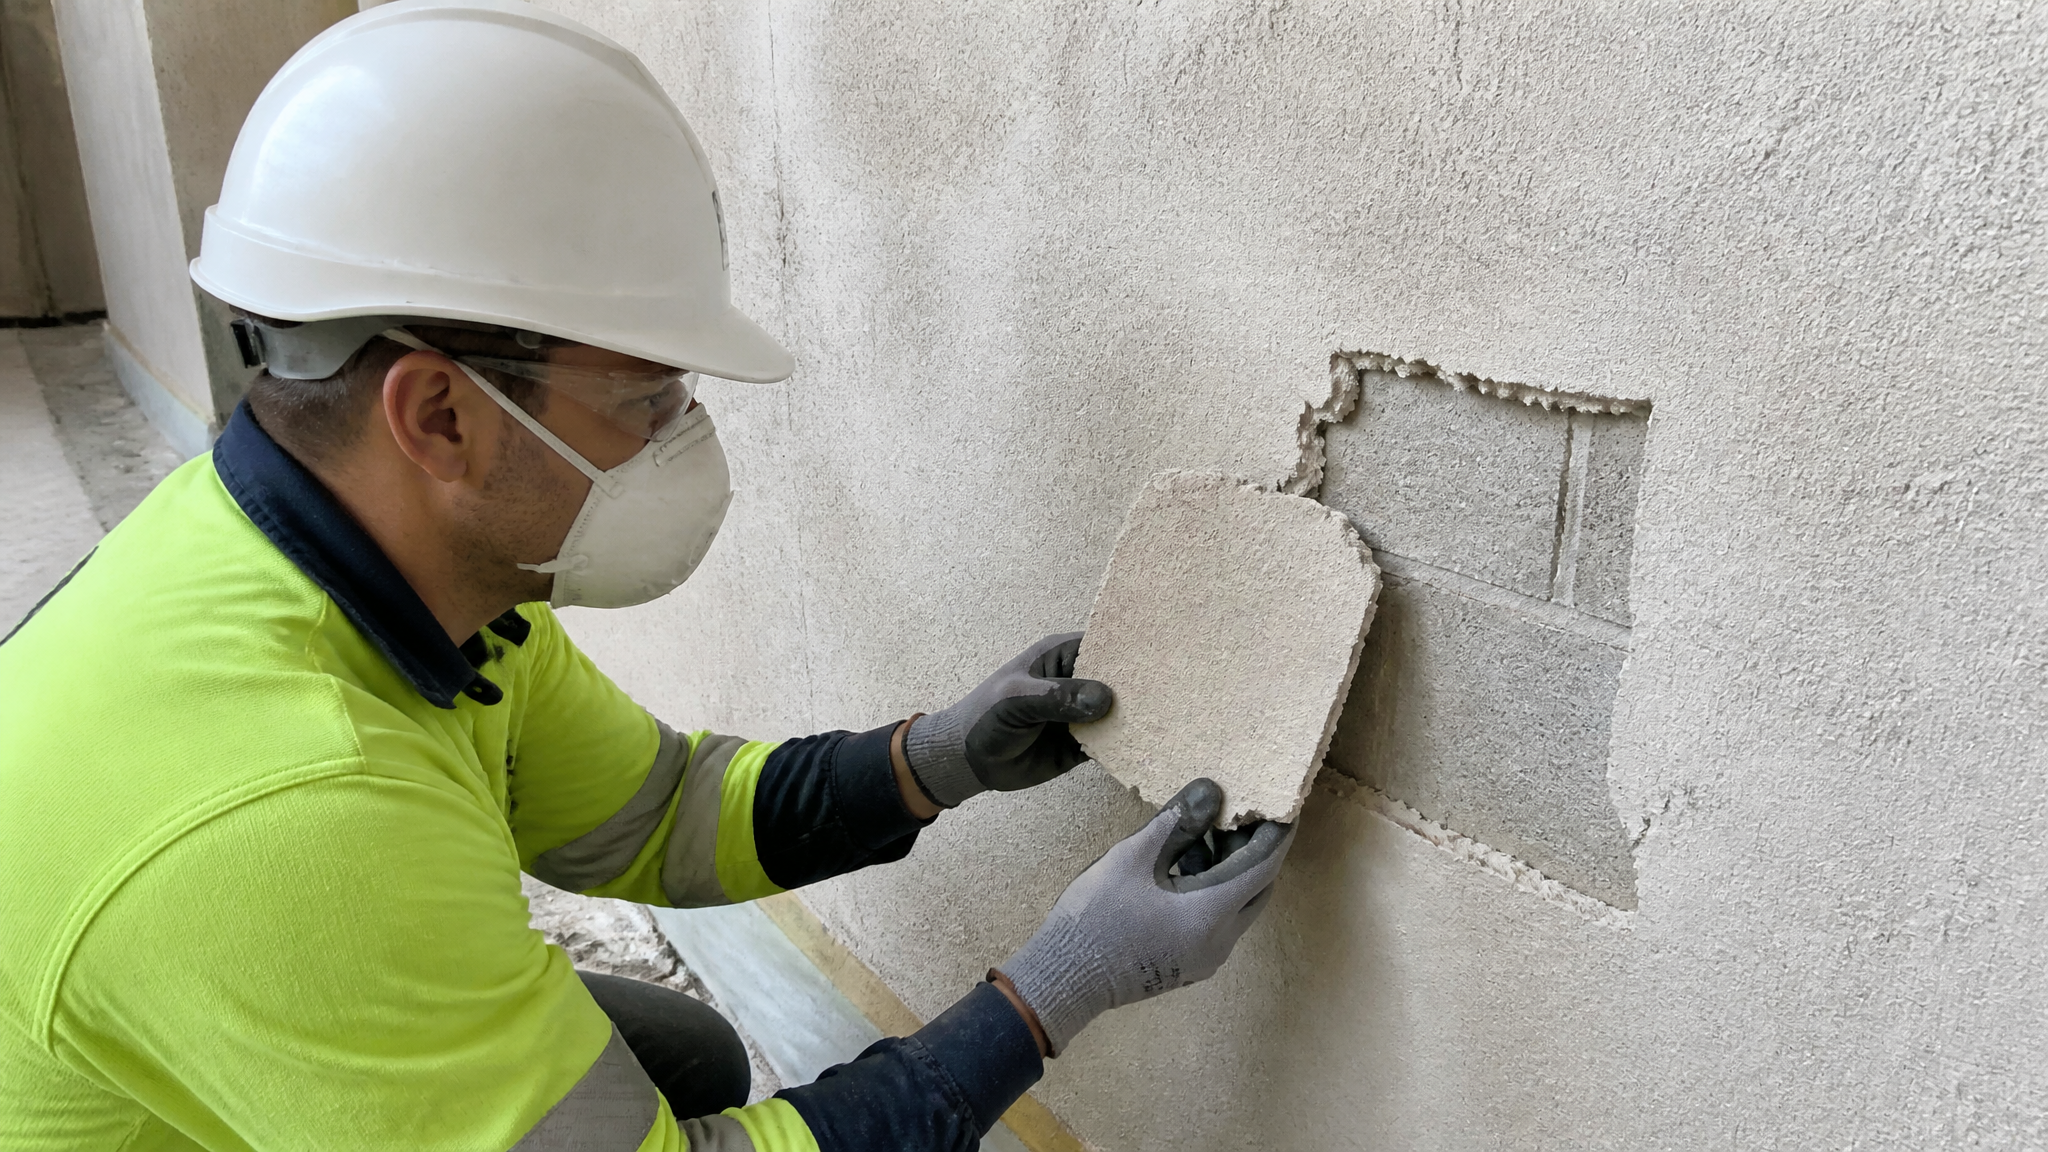
The failed piece is the best evidence available, and it costs nothing to read. Turn a fallen section over. If the back carries the imprint of the block face along with dust and a soft, chalky skin, the separation happened at the contact zone before the plaster had developed useful strength — a suction and preparation story. If the back is dense and the block face is torn, the substrate itself was the weaker element. If the back is glossy or skinned, the paste was probably worked after it had begun to set.
Mix-side causes still exist and should be excluded rather than assumed: water added to revive a batch that was already stiffening, material held past its working life, or a gauge eyeballed rather than measured. What we resist is the reflex that treats a debond as proof of a bad polymer. That reflex is how gypsum plaster debonding on high-suction block becomes a permanent argument instead of a solved problem. The same logic applies elsewhere in our technical notes on bond loss on dense porcelain, where a normal-looking fresh mortar says nothing about the interface it formed.
How Does a High-Suction Block Face Change the Plaster Interface?
Two pallets of block can arrive from the same yard, look identical, and behave completely differently under the same trowel. One drinks the water off the paste almost immediately; the other lets the plaster sit and work.
Agitation / Answer: Suction is a rate, not a label. The block competes with the fresh paste for the same mix water, and it wins at the surface where the bond has to form. How fast it wins depends on pore structure, face texture, dust, unit moisture and the air around the wall — not on the colour of the block.
A block face is a network of pores and cut aggregate. The cut face of a unit is typically more open than a moulded face, and sawing or chasing leaves fines that both block contact and absorb water. Units dried out thoroughly after delivery pull harder than units still carrying equilibrium moisture, and a face in direct sun or moving air pulls harder again. None of this shows in a visual inspection, which is why two elevations can fail on the same afternoon.
Water retention in the paste is the main counterweight, and it is a balance rather than a barrier. The cellulose ether in the system slows water loss from the paste to the substrate, giving the contact layer time to set with enough water left in it. That is the mechanism behind our HPMC for gypsum plaster guidance, and why the same ether level behaves differently on a dense substrate and on an open block face.
The tempting answer — add more ether until the wall stops pulling — is sometimes right and often not. Past a point, additional retention changes the rheology the crew relies on, affects how the plaster sets and how it trowels up, and can leave a rich, low-density skin at the surface that looks excellent and bonds poorly. Where a system uses a different ether chemistry, the trade-off moves again: HEC behaves differently in the same paste, and the choice has to be validated against the substrate, the system supplier method and the project specification rather than transferred from another product. Where the specification includes a redispersible polymer, its contribution depends on the same water being present at the interface, so RDP/VAE selection cannot compensate for a dry contact zone.
How Should You Prepare and Condition the Wall Before Plastering?
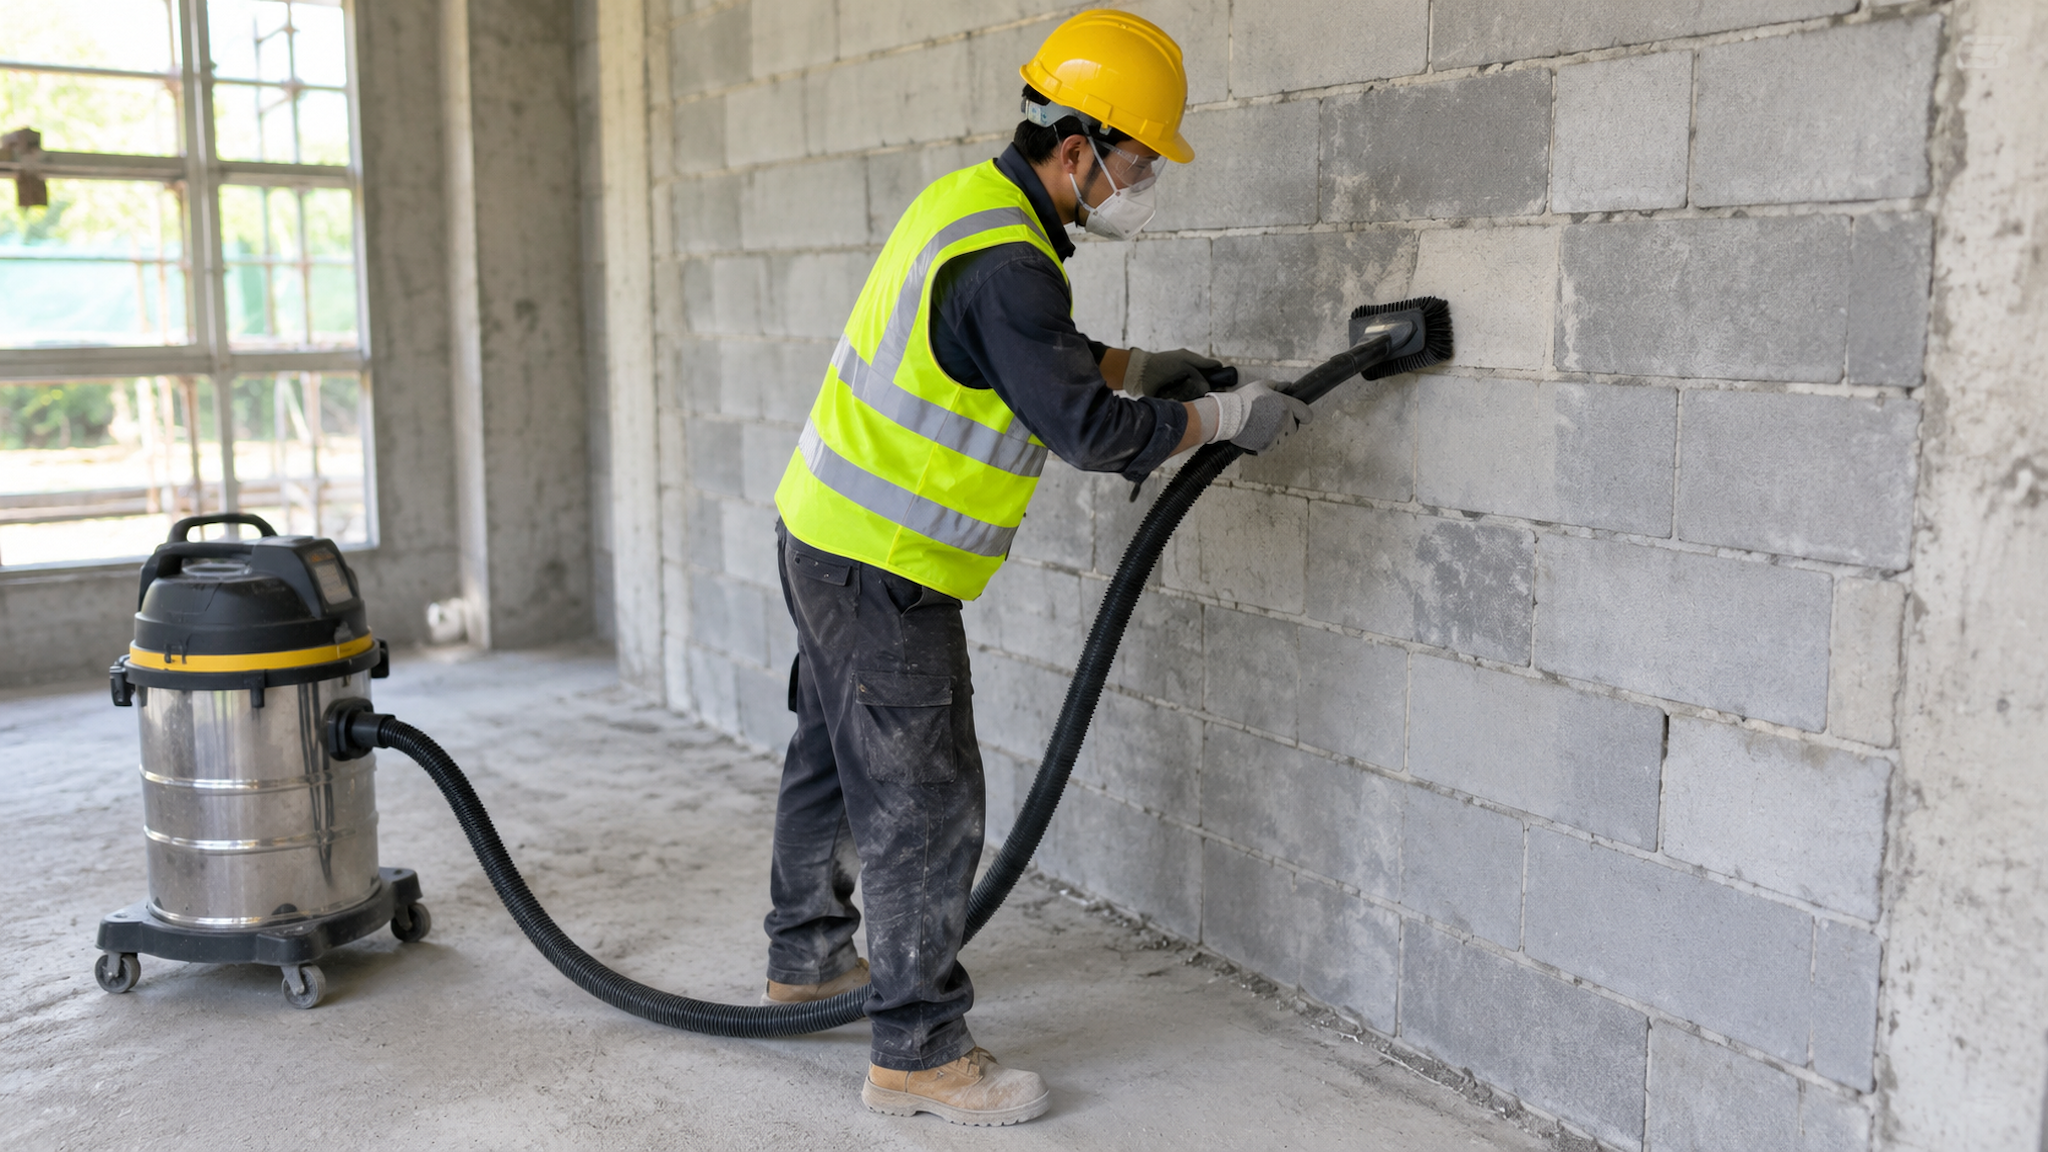
Preparation is the step most often recorded as complete without being verified. A wall can be swept, signed off and still be covered in the fines that will sit between the plaster and the block.
Agitation / Answer: Preparation has one job: bring a clean, sound, suitably conditioned face to the trowel. Dust, laitance, release agent and loose mortar all sit between paste and pore and defeat whatever water retention the mix carries. Whether the face also needs wetting or a primer is a system decision, not a default step.
The order that works in practice is unglamorous. Remove dust rather than move it — brushing alone redistributes fines, and vacuum or dry brushing followed by a check of the face is more honest than a single pass with a soft broom. Remove mortar snots, chase lines of loose material and any release agent or form oil on the block face [2]. Fill and finish joints, holes and honeycombed areas so the plaster is not bridging a void. Then look at the wall as a whole: patches of different colour, texture or porosity usually mean different deliveries or different cutting, and those patches will behave differently under suction.
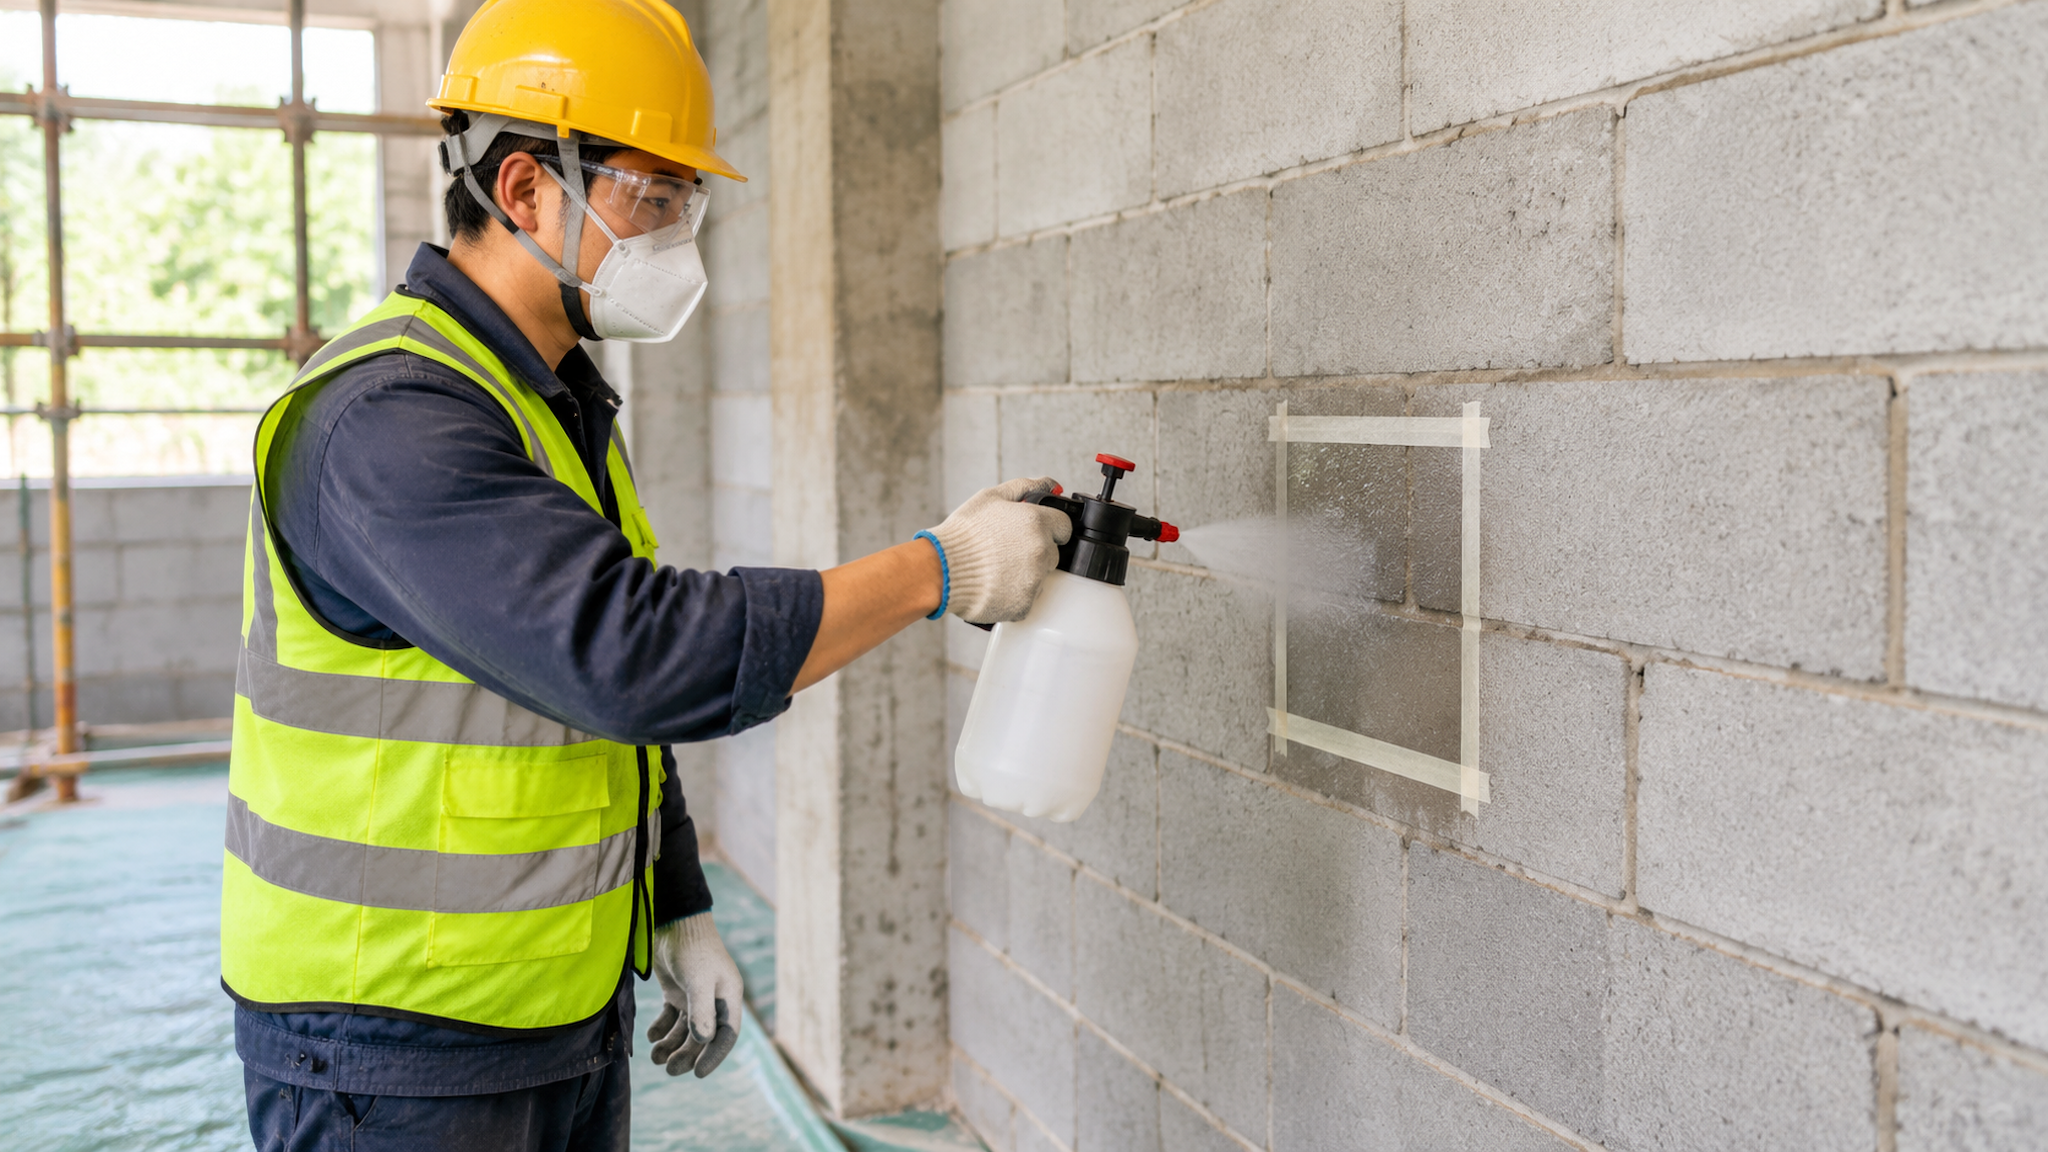
Conditioning is where opinions harden. Damping a high-suction wall is a recognised way to slow water loss at the moment of application, and it is also the most commonly misapplied step on site: a face left with free water on it dilutes the paste at the contact zone, encourages the coat to slide, and can produce the same debond it was meant to prevent. Damping to reduce suction and wetting to the point of standing water are not the same operation. Our product range includes systems where a primer or bonding coat is the specified route, but a primer is not a universal answer either — coverage, compatibility with the substrate and with the gypsum system, and the interval between priming and plastering all belong to the system supplier’s method and the project standard [1].
The practical test is not whether the wall was treated, but what the face looks like at the moment the trowel arrives: clean, uniformly absorbent, damp without being wet, and free of loose material. If that cannot be stated confidently for every elevation, preparation is not finished.
What Should a Site Mock-Up Prove Before the Crew Moves In?
Mock-ups are frequently approved on appearance alone, on a convenient wall, with a mix that was not the production mix. That approval then gets used to justify a method that was never actually tested against the substrate in question.
Agitation / Answer: A mock-up is only evidence if it reproduces the real conditions: the same block delivery, the same preparation, the same mix and the same crew that will do the work. It should include the worst face on the job, not the best one, and it should be inspected at the interface rather than at the surface.
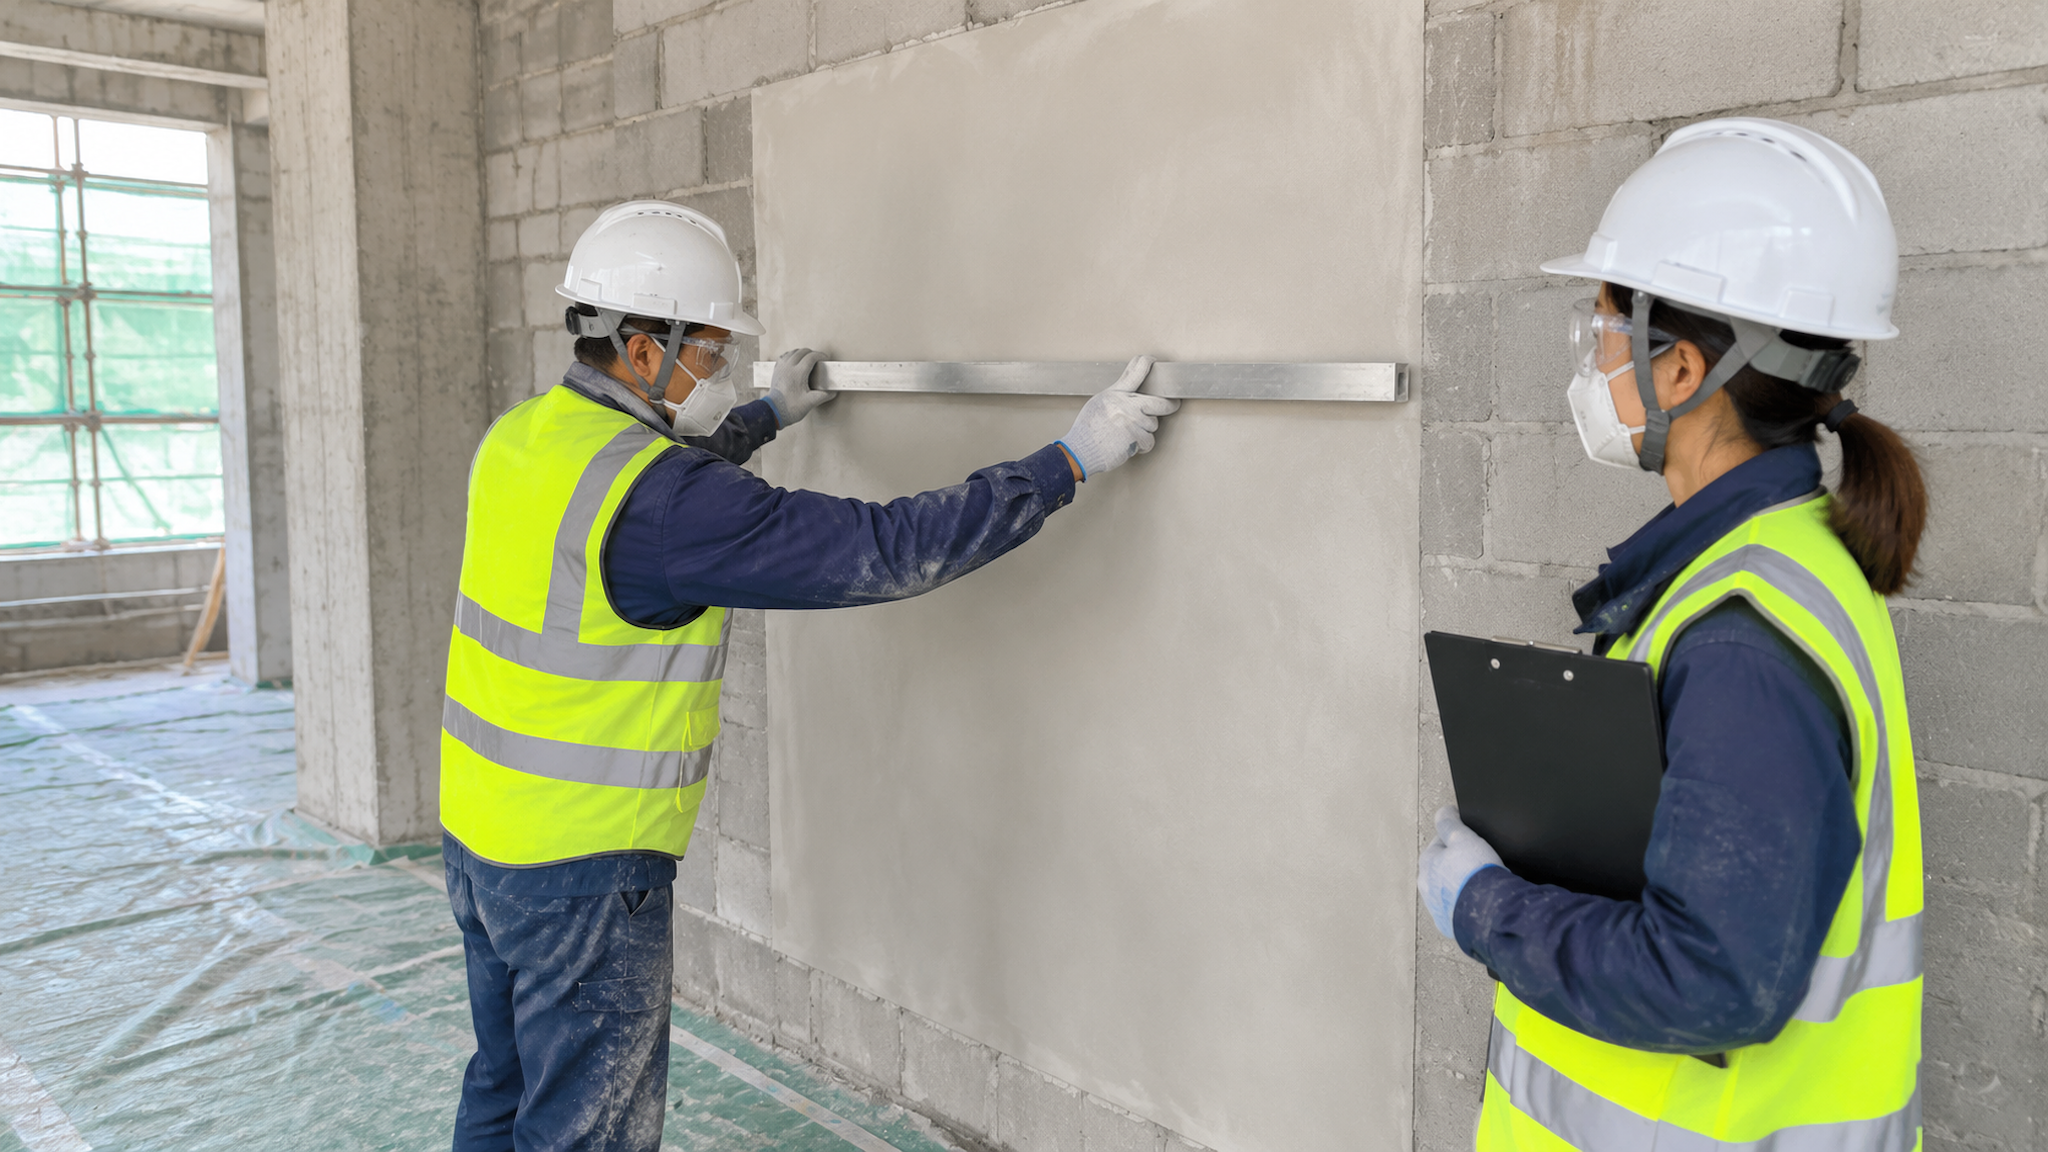
Run the mock-up on an area chosen for difficulty — a face that pulls hard, a patch with dust or repair, a corner where the crew will be working quickly. Apply with the production mix and the production sequence, and keep the record as the work proceeds: which delivery was used, what preparation was done to that panel, how the paste behaved on the board and on the wall, how the face looked before and during application. Photographs of the panel with a fixed reference in frame, taken before, during and after, are worth more than a description written from memory the following week.
Then inspect what the surface cannot tell you. Lift a small corner or cut a sample section from a position that will be made good, and look at the back of the plaster and the block face. A bonded contact layer, with plaster torn rather than released, is the result the mock-up is looking for. A clean release with dust on the back of the plaster means the method is not yet right for that substrate, whatever the surface looks like.
The output of a successful mock-up is a written method, not a photograph: preparation steps, conditioning decision, mix record, application sequence, and the conditions under which the panel was produced. That document is what the crew repeats and what the next elevation is judged against. Our manufacturer profile and company background explain where our technical support stops and where the system supplier’s method takes over — the mock-up is the point where those two responsibilities meet.
How Do You Separate Material, Substrate, Workmanship and Environment as the Cause?
When a wall fails, four parties can plausibly be responsible, and the material supplier is usually the easiest to accuse because a bag has a batch number on it.
Agitation / Answer: Separate the variables before assigning blame. Reproduce the failure on a panel, hold one variable at a time, and read the failure surface. A debond that follows the substrate follows the block; a debond that follows the crew follows the method; a debond that follows the delivery follows the material or its storage.
Start with the physical evidence, not the paperwork. A debond at the base of an elevation, in a band at mid-height, around openings, or in patches that match a delivery or a repair is telling you something. When it traces the geometry of the wall, the substrate leads; when it traces a shift, workmanship and environment move up.
Suction is the variable most often argued and least often measured. ASTM C67/C67M sets out an initial rate of absorption test for clay masonry units, in the laboratory and in the field [3]; the same discipline applies to block, where a comparative check on spare units from each delivery beats an opinion about which wall drinks faster. Where the coat goes onto gypsum lath or board rather than block, the base specification still governs what it can bond to [4].
The table below keeps that reasoning honest. It does not assign fault; it lists what to record before anyone changes a component, because a change made before the record exists cannot be evaluated afterwards.
| Field signal | Likely layer | Record before changing anything |
|---|---|---|
| Debond follows deliveries or cut faces | Substrate suction | Delivery reference, face type, preparation |
| Debond in a band or at height | Sequence, working time | Shift and batch record, applicator |
| Hollow sound, intact surface | Interface separation | Photographs, sample of the back |
| Failure only on one elevation | Exposure, substrate moisture | Orientation, weather sequence |
Material is then argued at batch level, not brand level: retained sample, batch record, storage history and the behaviour of the same batch on a known-good panel. If that batch bonds on a control panel and releases on one elevation, the material is unlikely to be the variable. Adjacent notes, such as our piece on putty that rolls or tears under the trowel, follow the same discipline, and the archive sits on our blog index.
Frequently Asked Questions
Does a high-suction wall always need a primer?
No. Suction is one variable among several, and a primer is one option a system supplier may specify. On some substrates a correctly conditioned face and a suitable plaster are enough; on others the specified method calls for a primer or bonding coat. The decision belongs to the system and the project specification, and the mock-up is where it gets tested.
Can adding more HPMC solve debonding on its own?
Not reliably, and not as a default. Higher retention can buy the contact layer time to set, which genuinely helps on an absorbent face. Past that point it changes rheology, set behaviour and surface skinning, and can leave a weak, over-stabilised layer that looks good and bonds poorly. Dose changes should follow a mock-up result, not a guess.
Why does the plaster sound hollow if the surface looks perfect?
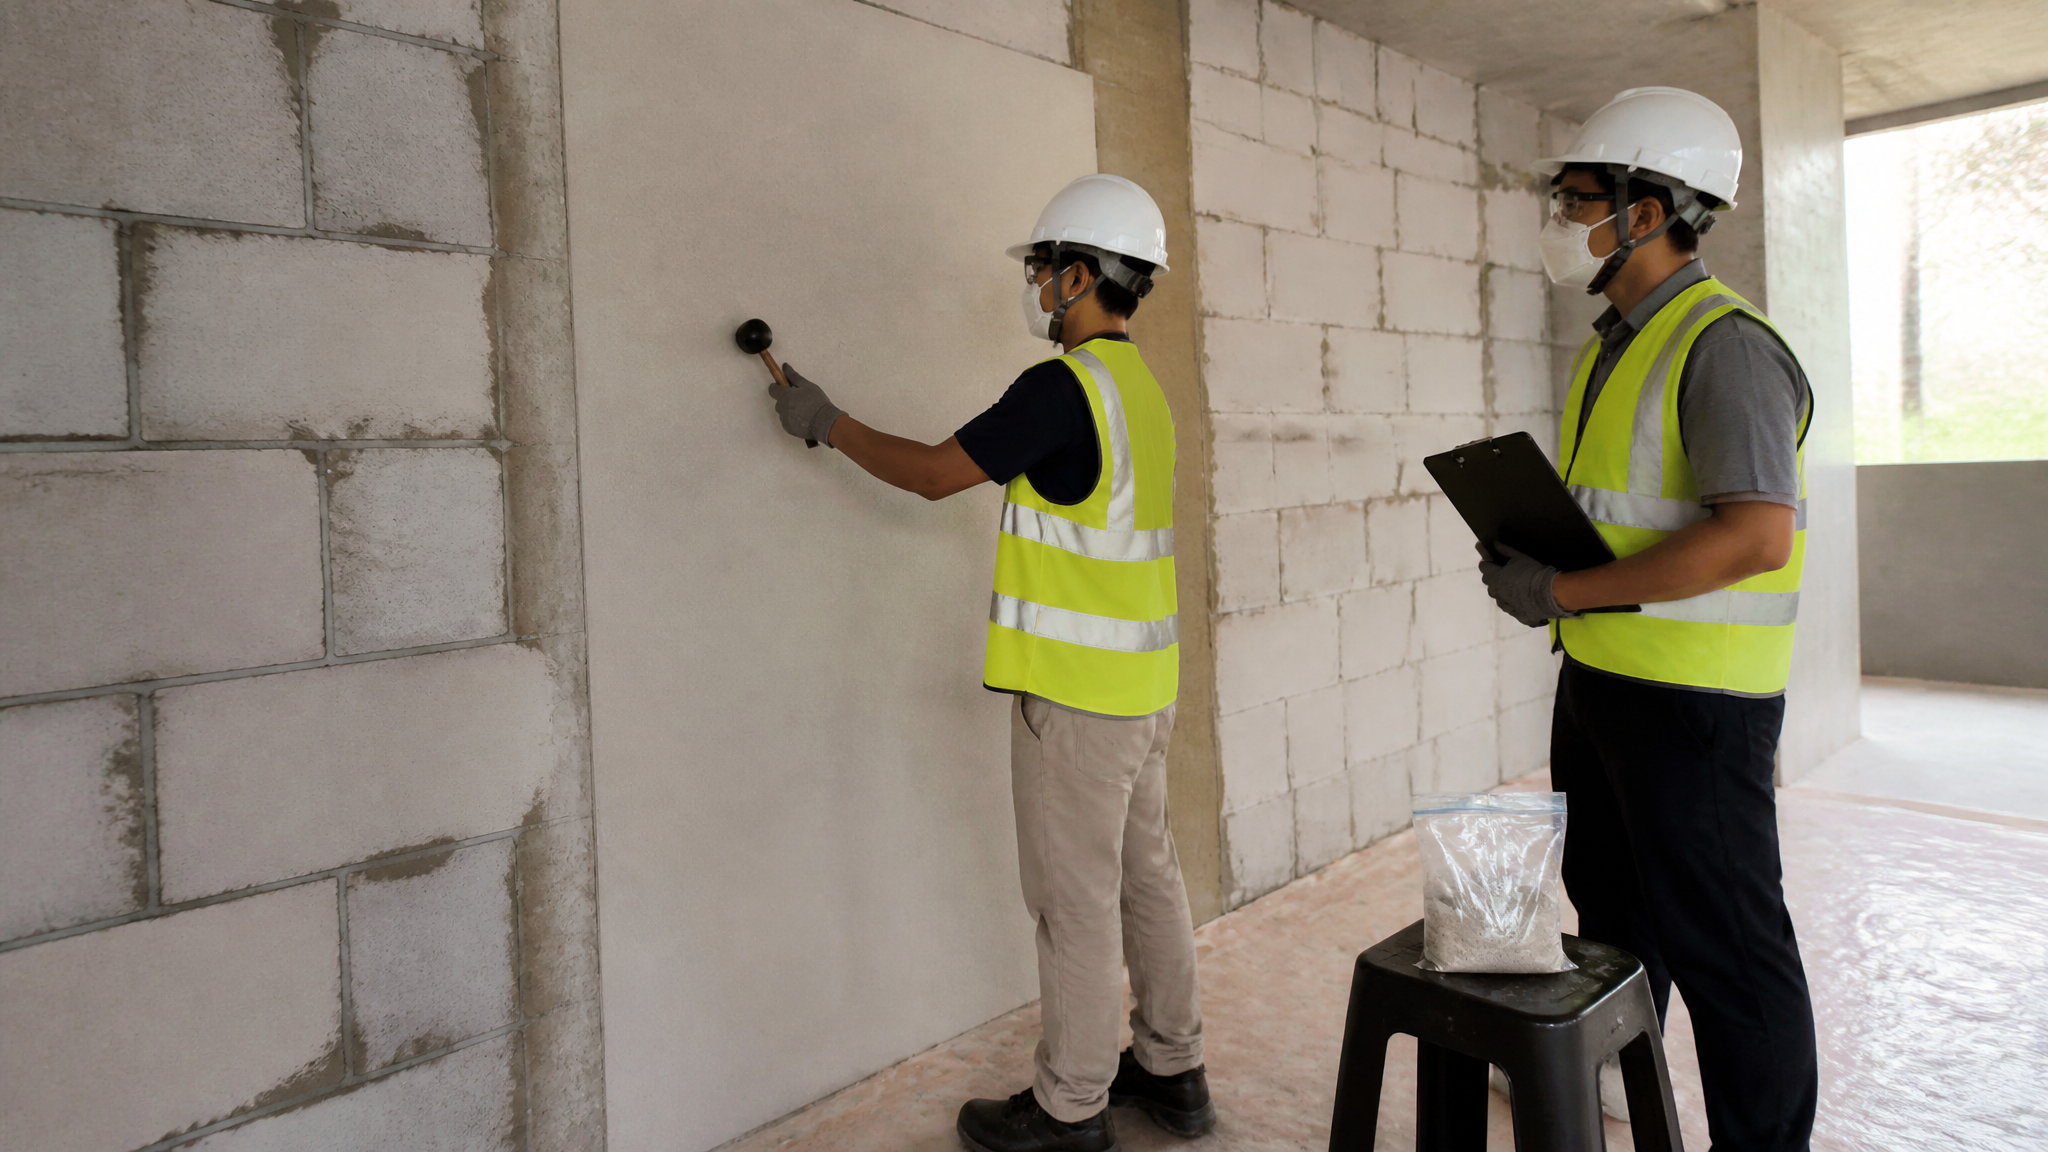
A hollow note means the coat has separated from the substrate behind an intact face. Gypsum plaster can set and dry normally on the outer surface while the contact layer never bonded, so the defect is hidden until someone taps the wall or the coat falls. Sounding the wall is a quick, cheap check that belongs in the inspection.
Is a bonding agent or a wetted wall a universal fix?
No. Both change the water balance at the interface in ways that depend on the substrate, the system and the timing of application. A face left too wet can dilute the paste and cause the coat to slide or debond, and a bonding agent that is incompatible with the system can create a new interface instead of removing one. Validate against the substrate, the system supplier method and the project specification.
How do we prove the cause to a client or an insurer?
Build an evidence package rather than an opinion: the failure pattern mapped on the elevation, photographs of the back of the detached plaster, the block delivery and preparation record, the batch and storage record, and a control panel applied with the same batch on a known-good face. A reproducible difference between panels is far more persuasive than any single test result.
Work With a Technical Team That Reads the Wall First
If you produce gypsum dry mixes and the same formula keeps splitting between elevations, send us the failure pattern, the block description and your mock-up observations. We will review the interface story with you, compare it with the retention behaviour of the grade you are running, and tell you honestly when the answer sits with the substrate or the method rather than the material. Start the conversation on our contact page.
References
- ASTM International. ASTM C842-05(2025), Standard Specification for Application of Interior Gypsum Plaster. https://store.astm.org/c0842-05r25.html
- ASTM International. ASTM C926-23, Standard Specification for Application of Portland Cement-Based Plaster. https://store.astm.org/c0926-23.html
- ASTM International. ASTM C67/C67M-23, Standard Test Methods for Sampling and Testing Brick and Structural Clay Tile (includes initial rate of absorption, laboratory and field). https://store.astm.org/c0067_c0067m-23.html
- ASTM International. ASTM C1396/C1396M-24, Standard Specification for Gypsum Board (gypsum lath and plaster bases). https://store.astm.org/c1396_c1396m-24.html